Table of Contents
- Introduction to DIY car upholstery cleaner
- Ingredients
- Procedures
- Tips for Success
- Conclusion: Keep Your Car’s Upholstery Clean and Fresh with this DIY Recipe
- FAQs about the DIY car upholstery cleaner
Home » The Best DIY Car Upholstery Cleaner Recipe for Sparkling Clean Seats
Introduction to DIY car upholstery cleaner
Maintaining clean car upholstery is important for several reasons. Not only does it improve the overall appearance of your vehicle, but it also helps to remove dirt, grime, and stains that can build up over time. This can not only make your car look cleaner and more presentable, but it can also help to preserve the life of your upholstery by removing harmful substances that can lead to wear and tear.
One effective way to keep your car’s upholstery clean is by using a DIY cleaner. Not only are these cleaners often more affordable than store-bought options, but they also give you more control over the ingredients used. This can be especially beneficial for those sensitivities to certain chemicals or those who prefer to use more natural cleaning products.
In this article, we will share a recipe for a DIY car upholstery cleaner that is easy to make and effective at removing dirt and stains. The ingredients used in this recipe are simple and affordable, and you can complete the process in just a few steps. We will also provide tips for success and encourage readers to leave a comment with their results after trying the recipe. So, if you’re looking for a way to keep your car’s upholstery clean and fresh without breaking the bank, this recipe is worth trying.
Ingredients
The ingredients for this DIY car upholstery cleaner are simple and likely already found in your household. The first ingredient is water, which thins out the other ingredients and helps the cleaner to spread evenly over the upholstery. The second ingredient is white vinegar, a natural disinfectant that can help remove odors. The third ingredient is liquid dish soap, which helps to break down dirt and grime and makes the cleaner more effective at removing stains. The fourth ingredient is baking soda, a natural cleaning agent that can help remove stains and absorb odors. Finally, you can add a few drops of essential oils, which can add a pleasant scent to the cleaner and help mask any lingering odors.
Procedures
To begin, combine equal water and white vinegar in a spray bottle. Next, add a few drops of liquid dish soap and a sprinkle of baking soda. If you choose to use essential oils, add a few drops at this time. Shake the bottle well to mix the ingredients.
It’s important to test the cleaner on a small, inconspicuous area of the upholstery before applying it to the entire seat. This will ensure that the cleaner does not damage the fabric or cause any discoloration. Once you have tested the cleaner and are satisfied with the results, you can apply it to the rest of the upholstery.
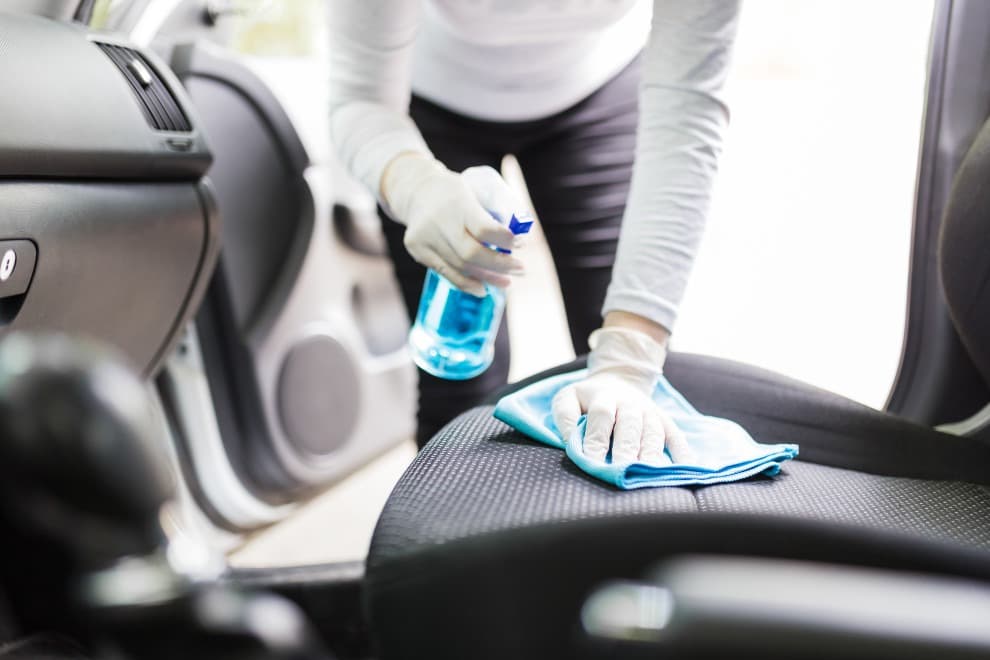
To use the cleaner, simply spray it onto the upholstery and scrub with a soft-bristled brush. Be sure to avoid oversaturating the fabric, as this can lead to damaging the upholstery or causing it to become oversaturated with moisture. Once you have scrubbed the seats, use a microfiber towel to clean them and remove any excess cleaner.
Using this DIY car upholstery cleaned regularly can help to keep your car’s upholstery looking clean and fresh. The natural ingredients used in the recipe are gentle on the fabric and can help to remove dirt, grime, and stains without causing any damage. The recipe is easy to make and can be completed in just a few steps, making it a convenient and cost-effective option for maintaining clean car upholstery.
Tips for Success
There are a few tips to keep in mind to ensure the best results when using this DIY car upholstery cleaner. First, test the cleaner on a small, inconspicuous area of the upholstery before applying it to the entire seat. This will help you to determine if the cleaner is safe to use on the fabric and if it causes any discoloration.
It’s also important to avoid oversaturating the upholstery with the cleaner. While it’s okay to apply a moderate amount of cleaner to the fabric, using too much can lead to damaging the upholstery or causing it to become oversaturated with moisture. This can be especially harmful to seats with padding, as excess moisture can soak into the padding and cause it to become damaged or mildewed.
When scrubbing the upholstery with the cleaner, use a soft-bristled brush to avoid damaging the fabric. A stiff-bristled brush or a rough scrubbing pad could cause tears or abrasions in the upholstery, so it’s important to use a gentle cleaning method.
Finally, wipe the seats dry with a microfiber towel after cleaning. This will help to remove any excess moisture from the upholstery and prevent it from soaking into the padding. Allowing the seats to air dry may also be sufficient, but using a towel can help to speed up the process and ensure that the seats are thoroughly dried.
Following these tips can help ensure the best possible results when using this DIY car upholstery cleaner. The recipe is easy to make and can be completed in just a few steps, making it a convenient and cost-effective option for maintaining clean car upholstery. Whether you’re looking to remove stains, eliminate odors, or keep your car’s upholstery looking clean and fresh, this recipe will surely deliver great results.
Conclusion: Keep Your Car’s Upholstery Clean and Fresh with this DIY Recipe
In conclusion, using a DIY car upholstery cleaner can be a cost-effective and convenient way to maintain clean and fresh-looking upholstery in your vehicle. The recipe shared in this article is easy to make and uses simple, affordable ingredients that are likely already found in your household. The process is straightforward and can be completed in just a few steps, making it a convenient option for keeping your car’s upholstery clean and fresh.
Using this DIY cleaner regularly can help remove dirt, grime, and stains from your car’s upholstery, eliminate odors and improve the overall appearance of your vehicle. The natural ingredients used in the recipe are gentle on the fabric and can help preserve your upholstery’s life by removing harmful substances that can lead to wear and tear.
We encourage readers to try this recipe for themselves and see the great results it can deliver. If you’ve used this DIY car upholstery cleaner, we’d love to hear about your experience in the comments below. Let us know if you succeeded with the recipe and if you have any tips or modifications to share with other readers. We hope this recipe helps keep your car’s upholstery clean and fresh and saves you time and money in the process.
FAQs about the DIY car upholstery cleaner
What are the ingredients for this DIY car upholstery cleaner?
The ingredients for this cleaner are water, white vinegar, liquid dish soap, baking soda, and essential oils (optional).
Can I use this cleaner on all types of car upholstery?
It is always a good idea to test the cleaner on a small, inconspicuous area of the upholstery before applying it to the entire seat. This will help you to determine if the cleaner is safe to use on the fabric and if it causes any discoloration.
How often should I use this cleaner on my car’s upholstery?
The frequency of cleaning will depend on how much the car is used and how dirty the upholstery becomes. As a general rule, cleaning the upholstery every few months or as needed to remove dirt, grime, and stains is a good idea.
Can I use this cleaner on leather upholstery?
While this cleaner is generally safe to use on most types of upholstery, it is always a good idea to test it on a small, inconspicuous area of leather upholstery before applying it to the entire seat. Leather can be more delicate than other types of upholstery and may be more prone to damage from harsh cleaning agents. If the cleaner works well on the test area, it should be safe to use on the rest of the leather upholstery.
Can I use this cleaner on car seats with padding?
Yes, this cleaner should be safe for car seats with padding. However, it is important to avoid oversaturating the upholstery with the cleaner to prevent excess moisture from soaking into the padding and causing it to become damaged or mildewed. Wiping the seats dry with a microfiber towel after cleaning can also help to remove any excess moisture.