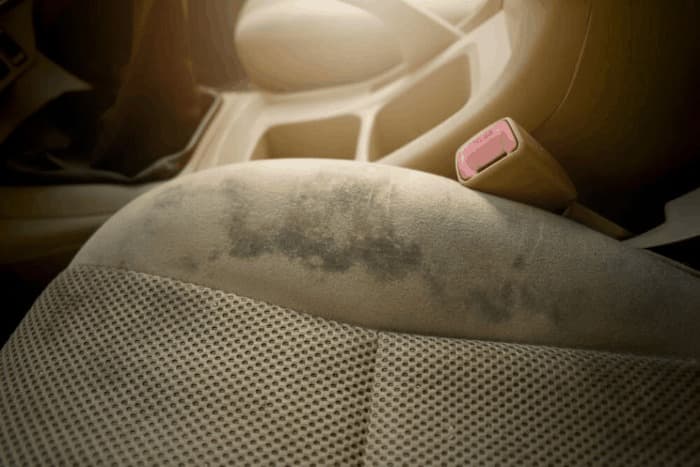
Detailing your car regularly is a great way to keep it looking its best. But sometimes, no matter how careful you are, accidents happen and stains end up on your seats. If you’re dealing with a stained car seat, don’t despair! With a little elbow grease and the right supplies, you can easily get rid of the stain and have your seats looking like new again. Read on for our step-by-step guide to removing unwanted stains from your car seats.
Table of Contents
- Vacuum the affected area to remove any loose dirt or debris
- Pretreat the stain with a suitable cleaner – be sure to test it on an inconspicuous area first!
- How to make a DIY car seat cleaner
- Repeat the steps as necessary until the stain is gone
- Protect the car seat from future stains by applying a fabric protector
- Conclusion
- Frequently Asked Questions about DIY stain removal
Vacuum the affected area to remove any loose dirt or debris
Getting rid of any unwanted stains on your car seats is an easy task. First, vacuum the affected area to remove any loose dirt or debris. This simple step can make all the difference in how successful you are at removing the stain. It also helps prevent additional soils from getting lodged further down in the fabric, making it easier and faster to reach it. So if you’re looking to keep your interior neat and tidy, start by sweeping away anything that doesn’t belong with a vacuum cleaner.
Pretreat the stain with a suitable cleaner – be sure to test it on an inconspicuous area first!
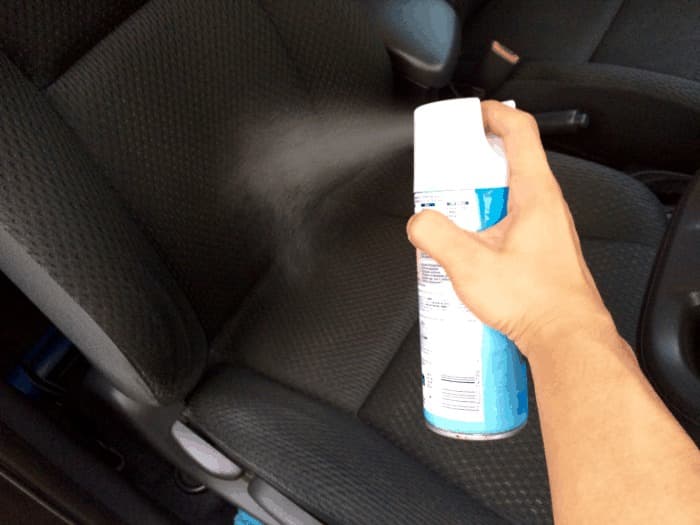
Unwanted stains on your car seats can make the interior of your vehicle look worn and unattractive. However, before reaching for any cleaner, it is essential to perform a spot test in an inconspicuous area to ensure that the cleaner won’t damage the seat fabric or cause discoloration. By following this step first, you can be sure that the pretreatment you use will eliminate the stain without damaging or altering your car’s upholstery.
How to make a DIY car seat cleaner
Making your own car seat cleaner is a simple but rewarding task. Mix two cups of warm water with two tablespoons of white vinegar. Add one tablespoon of dishwashing liquid to form a cleaning solution. Apply this to the seats using a dampened cloth and gently scrub the material, taking care to ensure that no damage is done. Finally, use another dry cloth to wipe away any residue and apply a sprinkling of baking soda in any tough-to-clean areas for additional degreasing power before wiping it off with the same cloth you used earlier.
Repeat the steps as necessary until the stain is gone
It’s important to remember that when attempting to remove a stain, persistence pays off. It may take multiple attempts with various methods, but do not be discouraged from trying again if the first attempt fails. Ensure that these steps are accurately followed each time they are repeated. With dedication and focus, you can tackle the stubborn mess before you and reclaim your clean car seat.
.
Protect the car seat from future stains by applying a fabric protector

Investing in a fabric protector for cleaning car seats is an excellent way to protect your automotive upholstery from stains and dirt. Not only does applying a fabric protector protect the area from future spills, but it can help to extend the life of your car’s interior and make cleaning simpler in the future. Regarded as an invaluable protection layer, fabric protectors create a barrier against liquid absorption, leaving your car’s seats stain-free and fresh. Monitoring the cleaning of your upholstery with a fabric protector ensures that you will get many years of enjoyment out of your vehicle without having to invest heavily in cleaning or repair costs down the road.
Conclusion
If you follow the above steps, you should be able to remove most set-in stains from your car. It’s important to act quickly when a stain occurs and to pretreat with a suitable cleaner – this will give you the best chance of success. Be sure to test any cleaners on an inconspicuous area first! If the stain persists or if you are unsure of what product to use, please contact us for professional assistance.
Frequently Asked Questions about DIY stain removal
What are some of the most common stains on car seats?
Some of the most common stains on car seats include food and drink spills, oil-based stains such as grease or motor oil, pet and human body fluids, mud and dirt, as well as pollutants like smoke or dust. Food and drink spills are some of the most common stains that can leave a lasting mark on car seats.
What are some of the best tips for preventing stains on car seats?
One of the best tips for preventing stains on car seats is to properly maintain them. Regularly vacuum and clean the upholstery, especially in hard to reach areas like between the seats, to remove any dirt or debris that can cause staining.
How do I prevent stains on my car seats?
One of the best ways to prevent stains on your car seats is to practice regular maintenance and care. Vacuuming your upholstery every once in a while will help eliminate dirt, debris, and other potential stain-causing substances that accumulate over time. Additionally, spot cleaning any spills or messes as soon as they occur can help prevent them from becoming set-in stains.
What are some of the best tips for cleaning car seats?
You can also take preventive steps when it comes to the types of items that come into contact with car seat fabrics. Avoid eating and drinking in your car if possible, since these are two of the most common culprits when it comes to staining automotive upholstery. If you have children or pets riding in your vehicle regularly, consider using seat covers or pet barriers to minimize contact between their clothes or fur and the car seat fabric. Finally, try not to let the smoke linger around your car interior, as this can cause discoloration over time.
What are some of the best tips for protecting car seats from stains?
It is important to invest in a fabric protector for the car seat upholstery. Fabric protectors are designed to form a barrier against liquid absorption, helping you avoid costly repair costs down the road due to stained and damaged upholstery. In addition, treatments like ScotchGard and Teflon can be applied to the fabric of your car seat as an extra layer of protection against potential staining agents such as coffee or soda spills or mud and dirt from shoes.


