Table of Contents
- Why use a DIY mat cleaner?
- #1 thing not to do when cleaning your mats
- Why we love this cleaner?
- Final steps to cleaning your car
- Conclusion
- Frequently Asked Questions
- What is the best way to clean car mats?
- What are some tips for cleaning car mats?
- How often should I clean my car mats?
- What are some common mistakes people make when cleaning car mats?
- How can I prevent my car mats from getting dirty in the first place?
- What are some ways to remove tough stains from car mats?
- Can I use a power washer to clean my car mats?
- How can I make my own car mat cleaner?
Home » DIY Car Mat Cleaner: The Best Way to Keep Your Mats Looking New
If you’re like most car owners, you probably don’t give much thought to your car mats. But over time, they can get pretty dirty – and that’s not good for your car’s interior or for their lifespam. A DIY car mat cleaner is the best way to keep your mats looking new. Here’s how to make one! We have gone over the value in keeping up with your cars maintenance, now let’s take a look at the value of keeping up the interior maintenance in your car ( and the cheapest way to do that )
And if you think that it is too much work, don’t worry as we make it as easy as possible to get the best results. No one likes scrubbing down the mats for hours, so our method will show you how to keep them in good shape… as well as one big thing to avoid when doing your mats. We found this out the hard way, so make sure you read the whole article.
Why use a DIY mat cleaner?
Keeping car mats clean is essential for keeping your car clean and smelling good. If you think about it, your feet go through puddles, walk on the streets, and encounter who knows what on the ground. And if you don’t clean your shoes before you get in your car you are tracking all that garbage into the car, and sometimes it falls off. You don’t want that in your car, right?
If you love your car like we love our Accord, then you want it to be clean. Although it might take a bit of elbow grease, is that it is worth it in the long run.
How to make a DIY mat cleaner
Luckily, cleaning car mats does not have to be an expensive or time-consuming endeavor. Instead of buying a product from the store, you can make your own DIY cleaner with ingredients you already have at home. All that you have to do to make your own mat cleaner is to mix water and a mild detergent such as dishwashing liquid in equal parts. Stir the solution together until it forms suds, then transfer the mixture into a spray bottle and use it to saturate the car mat.
How to use this cleaner on your mats
Shake the bottle up to make sure it is mixed well and spray generously over the mats. We suggest taking them out of the car as it is just easier when done in your driveway. Once you’ve finished spraying the entire surface, use a damp cloth or brush to agitate the suds and evenly distribute them over the mat. Leave the suds on for 10 minutes before scrubbing them off with a dry towel or cloth. By following this simple method of DIY cleaning, you can effectively remove dirt and debris from your car mats without spending extra time or money – making it an ideal way to keep your vehicle’s interior clean and tidy.
#1 thing not to do when cleaning your mats
This is the one misstep that we have to make sure we put in here, and that is that no matter how shiny and squeaky clean you want your mats to be; NEVER, EVER, EVERRRR use any type of product that adds shine. If you do this you will be making is very slick….which is not what you want your floor mats to be.
This is very, very dangerous as you can easily lose your footing when getting in our out of your car. If your mats are clean they will look great, you don’t need them to be slick and shiny so please do not add any product that could do this to your mats.
Why we love this cleaner?
People often spend a lot of money on cleaning products, many of them contain harsh chemicals that can be hazardous to our health and the environment. This is why we love these types of gentler cleaners. If you use something that is meant to be used in your house or on your clothes, it should be safe for your car mats. On top of using on your floor mats you can also use this mix on most surfaces within your car as well. So not only is it versatile, but it is very economic. As everything is getting more and more expensive we love saving money when we can.
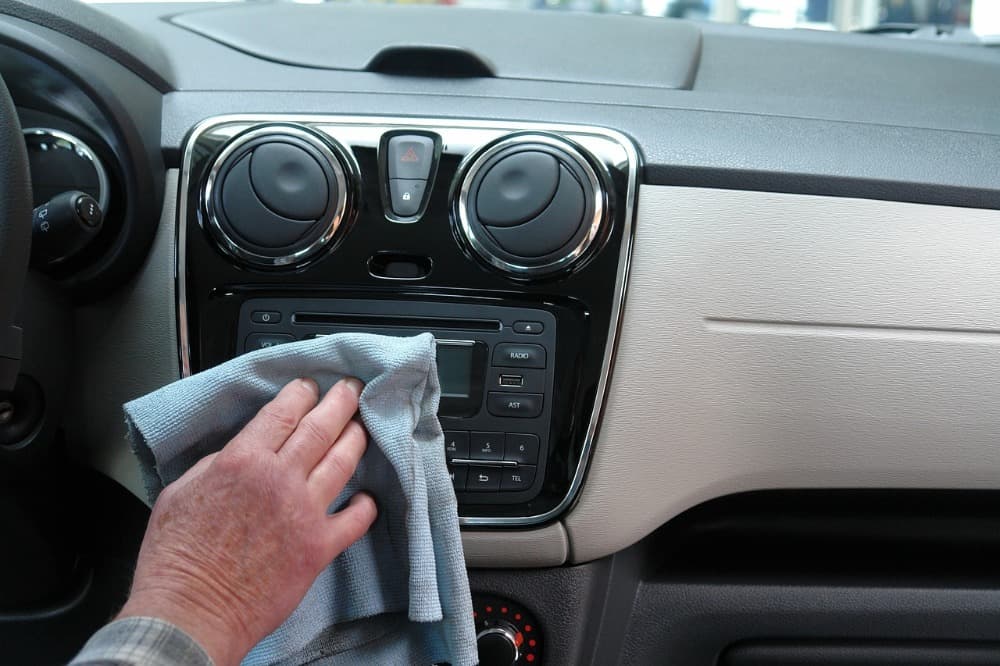
Final steps to cleaning your car
After you’ve sprayed your mat down, and given them a good scrubbing you are almost done.To make sure your mats are thoroughly clean, you should rinse them with warm water, removing any remaining residue or suds before allowing them to air dry. And if you are wondering, we love these spray bottles from Amazon for mixing our own cleaning liquids. They last a long time and are a great price, what more can you ask for?
This helps reduce streaks and wet spots that may occur due to improper drying while also reducing the risk of mildew or mold growth resulting from trapped moisture. You don’t want to be putting wet mats back into your car, because A) they will be slippery, B) if the bottoms are wet the moisture will go into your car’s carpet and won’t be able to escape as the rubber mat will keep it in the carpet.
Conclusion
So there you have it, a simple and easy DIY cleaner that will save you money in the long run. All you need is water, vinegar, dish soap, and baking soda. Just mix these ingredients together and scrub your mats with the solution. Rinse the mats off with water and let them air dry. Your mats will look like new in no time!
Frequently Asked Questions
What is the best way to clean car mats?
We suggest using our easy-to-make cleaning solution, agitating the dirt, washing them off, and fully drying the mats for the best cleaning results.
What are some tips for cleaning car mats?
There are a few tips for cleaning car mats that can help make the process easier. First, remove all the larger dirt and debris from the mats before you begin cleaning them. You can do this by shaking them out or using a vacuum cleaner. Then, mix together the water and detergent in a bucket or spray bottle. spraying it directly on the mats and scrubbing them with a brush. Finally, rinse the mats off with water and let them air dry.
How often should I clean my car mats?
It depends on how often you drive your car and how dirty the mats get. If you drive your car frequently and the mats get very dirty, then you should clean them every month. If they don’t get too dirty and you only drive your car occasionally, you can clean them every two months.
What are some common mistakes people make when cleaning car mats?
There are a few common mistakes that people make when cleaning car mats. First, some people don’t shake out the dirt and debris before cleaning them. This can make the process more difficult and can cause dirt and debris to spread around.
Second, some people don’t mix together the right ingredients for their DIY cleaner. This can result in a cleaner that doesn’t work as well as it should.
Some people don’t rinse the mats off with water properly after they’ve cleaned them which can leave streaks and spots on the mats.
The final mistake is adding a product that makes them slick and shiny, which can make you slip when getting in and out of your car.
How can I prevent my car mats from getting dirty in the first place?
The only way to avoid getting your floor mats dirty is to really make sure your shoes and boots are clean before you get in the car.
What are some ways to remove tough stains from car mats?
There are a few ways to remove tough stains from car mats. First, you can try using a carpet cleaner or shampoo. Second, you can try using a soak in water and vinegar. Third, you can try mixing baking soda and dish soap. Finally, you can try using a steam cleaner. Each of these methods has its own pros and cons, so you may want to test several methods to see which one works best for your specific situation.
Can I use a power washer to clean my car mats?
Yes, you can use a power washer to clean your car mats. However, you should be careful not to use too much pressure or the wrong angle, as this could damage the mats. Instead, try using a light spray of water and slowly moving the power washer back and forth across the mats.
How can I make my own car mat cleaner?
There are a few ways to make your own car mat cleaner. One way is to mix together water, vinegar, dish soap, and baking soda. Another way is to use a carpet cleaner or shampoo. Third, you can try using a soak in water and vinegar. Fourth, you can try mixing baking soda and dish soap. Finally, you can try using a steam cleaner. Each of these methods has its own pros and cons, so you may want to test several methods to see which one works best for your specific situation.