How to use an OBD 2 reader
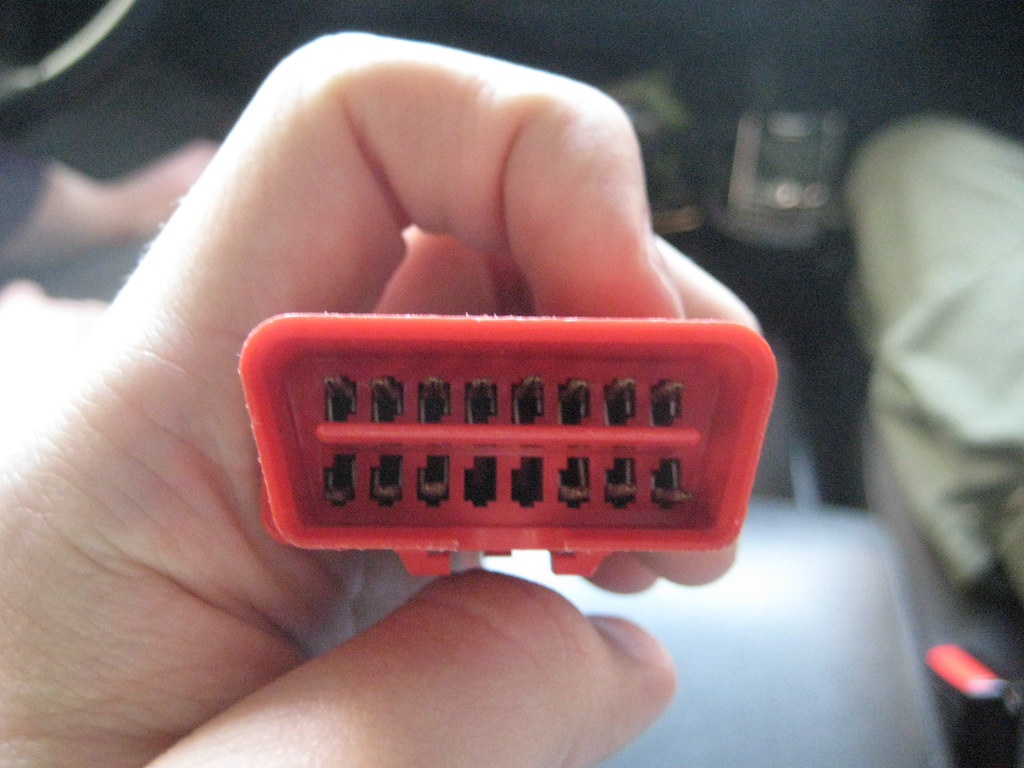
How Do You Use An ODBC Reader in Your Car? Have you ever wanted to know what’s going on under the hood of your car? With an OBD 2 reader, you can easily figure out what’s wrong with your car and fix it. But how do you use one? In this article, we’ll show you … Read more